Making a front door wreath doesn’t require a ton of time or money. Grab your supplies and check out how easy this is to complete!

It’s still warm in Southern California, however, I’m making the executive call to finally put up my fall front door wreath!
Seriously, I’m tired of being seasonally behind the rest of the country; although, I wouldn’t trade this year-round sunshine for anything 😉
If you’ve been following the blog, then you might remember the HOW TO MAKE A SPRING WREATH tutorial I debuted last spring.
It’s jam packed with goodies including how to choose florals, wreath budgets, supplies, and all the wreath-making basics every beginner should know.
I decided to follow the exact same process for this wreath because it was perfect for my two main goals:
1. Assembly in 20 minutes or less
+
2. Using a budget of under $30
Full disclosure – I did reuse the Grapevine Wreath and the pliers from before. Everything else was completely brand new and actually cost $25.99 total!!
I think a front door wreath is the perfect way to welcome the season into your home. So, if you haven’t had a moment to put yours up either, grab your supplies and let’s get started!
This post is all about how to make a fall front door wreath.
EASY $30 FALL FRONT DOOR WREATH IN ONLY 20 MINUTES!

Step 1. Gather Your Fall Wreath Supplies
The first step to making your fall wreath in under 20 minutes is to gather your supplies.
Depending on your vision, this could include anything from florals to bushes, the wreath base, pliers, a door magnet, and more.
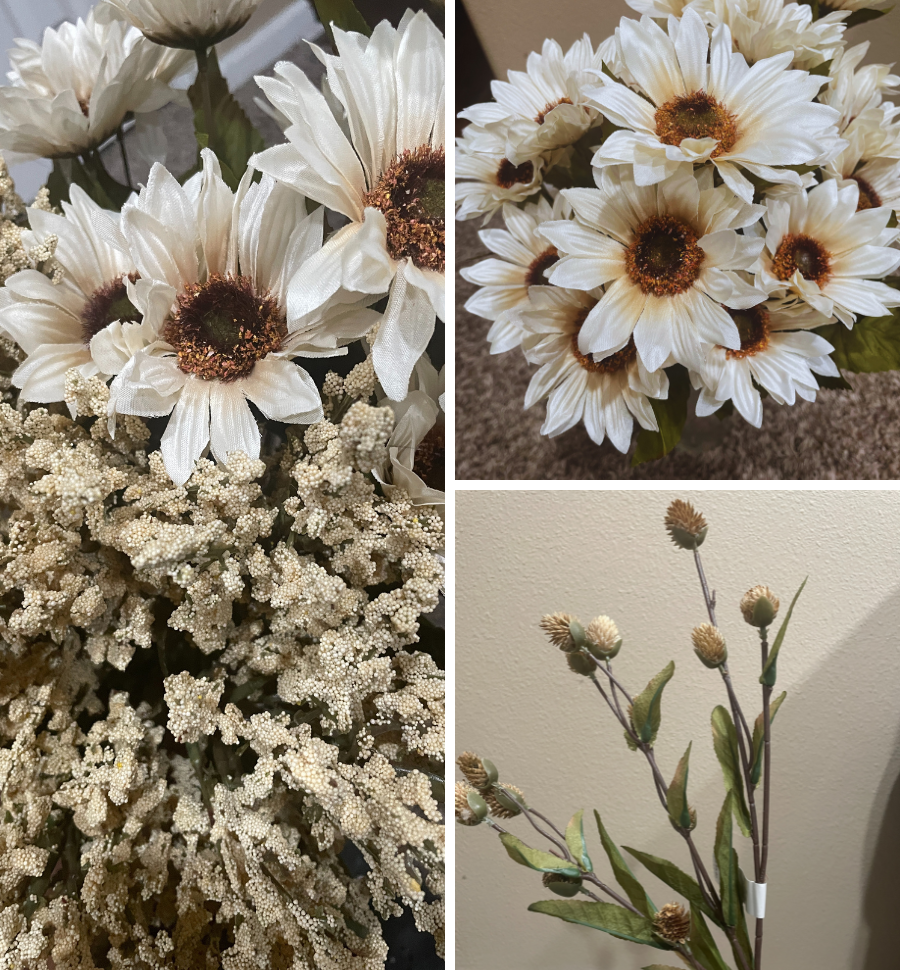
For this wreath, my vision was neutrals with splashes of “orange” and lots of greenery.
So, my new supplies, all 60% off at Michaels, included:
– Cream Sunflower Bush by Ashland® x 2 ($4/pc)
– Cream Mini Cluster Heather Bush by Ashland® x 2 ($6/pc)
– Toast Thistle Stem by Ashland® x 1 ($5.99)

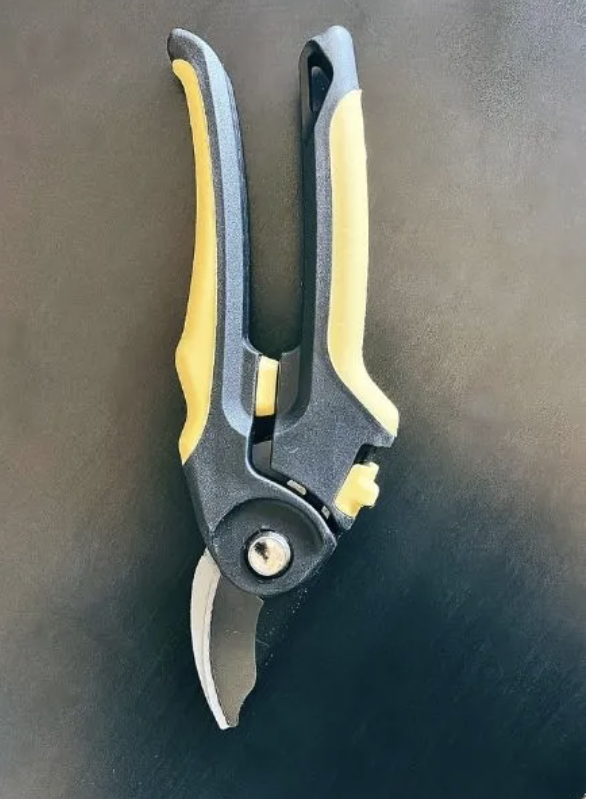
I also set aside the Grapevine Wreath, from the HOW TO MAKE A SPRING WREATH tutorial, along with the heavy-duty pliers for stem cutting 🙂

Step 2. Assemble
Once you have all of your supplies, the next step is to find a comfortable spot and start putting your wreath together!
I typically follow this pattern: 1st – Main flower, 2nd – floral bushes, and then 3rd – accent pieces.
But the order you follow is completely up to you, so feel free to get creative!
Grapevine Wreath Base ⇣
My favorite choice for glueless wreaths because you can easily wrap/unwrap your florals as needed.

Main Flower ⇣
(Sunflowers)

Start by sticking the flower stems in between the grapevine until arranged as desired. ⇣
Tip: Pull up the leaves on the main flower to make sure they don’t get lost in the grapevine.

See how they’re all arranged in place here? When you’re ready, begin securing each flower by wrapping the stems around a piece of grapevine. ⇣

After securing the first bundle of sunflowers, I added in the second bundle for a fuller look. ⇣

Now, move on to your floral bushes. ⇣
I typically do this in a counterclockwise pattern, but you could really do any format you prefer. I use the pliers to separate the bunch and randomly place each piece around the perimeter of the wreath.

Once your bushes are in place and secure, add your accent piece/s. ⇣

Here’s how my finished wreath looked after adding the accent pieces. I love how subtle they were for this wreath! ⇣

That’s it!
Wasn’t that super easy? Now’s the time to shake your wreath up and down to make sure nothing falls out and everything is secure. This is also a good moment to rearrange anything you don’t like. For example, I slightly tucked a few of the cream bushes before hanging on the door because I liked the neater look.


Conclusion
As you can see, making a wreath doesn’t have to be complicated, or even expensive. It’s actually a great way to carve out some self-care time while creating something beautiful.
I hope this inspired you to create and finish your own wreath! Don’t forget to tag me in your photos on IG so I can see how yours turned out too!
XO,