Use this quick and easy guide to make hard boiled eggs in no time!
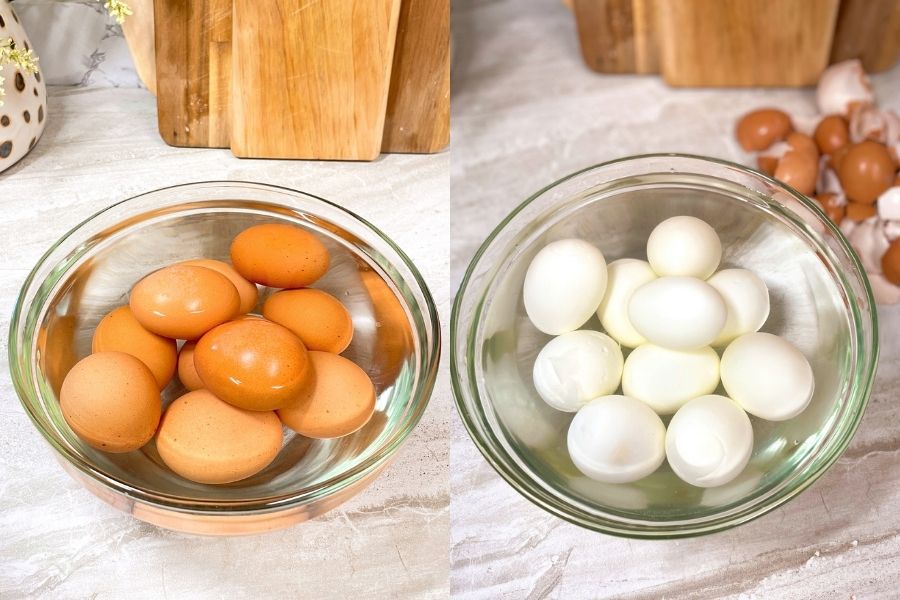
If you don’t know how to make hard-boiled eggs, then don’t worry because you will after reading these SUPER easy instructions.
I have been enjoying hard boiled eggs for as long as I can remember. When I was a kid, my mom would make them for multiple occasions including egg dyeing on Easter, a morning breakfast grab, or even as a staple to other recipes like Deviled Eggs.
As an adult, I make these all the time especially when I need a quick burst of protein or if I have a small appetite.
My preferred method for making them is on the stovetop, although these can absolutely be made in the oven.
This recipe is for stovetop HBEs, and they cook in about 17 minutes once the water is boiling.
Again, super easy and anyone can do it!
This post is all about how to make hard-boiled eggs.
SUPER EASY AND SIMPLE HARD BOILED EGGS
QUICK GUIDE:
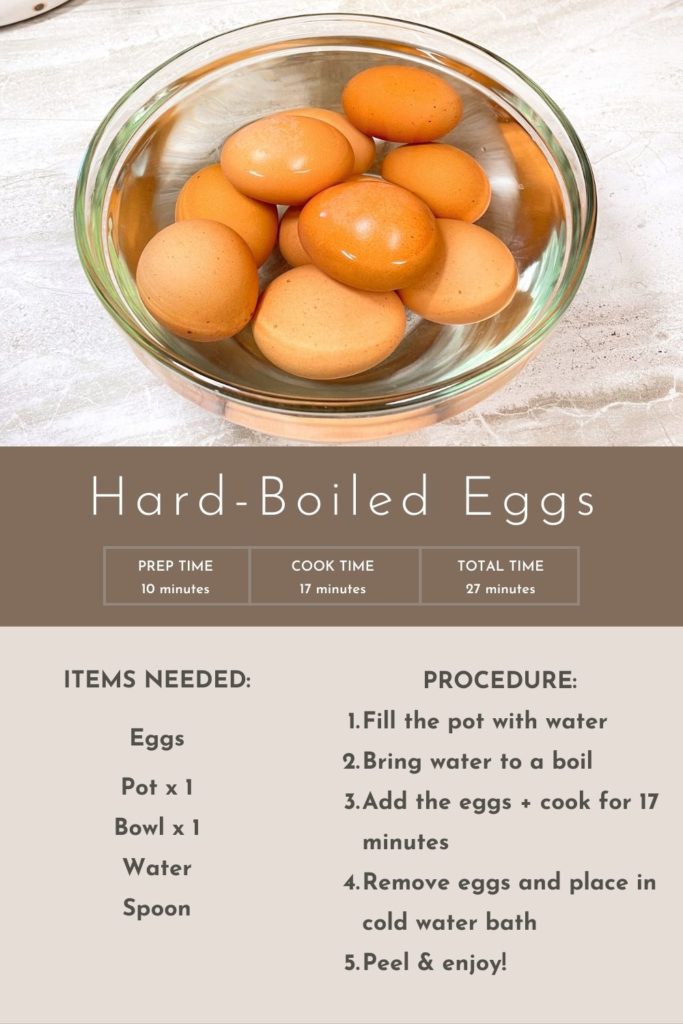
STEP 1: FILL A POT WITH WATER
You will want to start by filling a large pot with water.
Since I usually make 10+ eggs, I use my 8-quart pot but anything similar will work.
Also, I’ve done this using hot and cold water and have not noticed a difference.
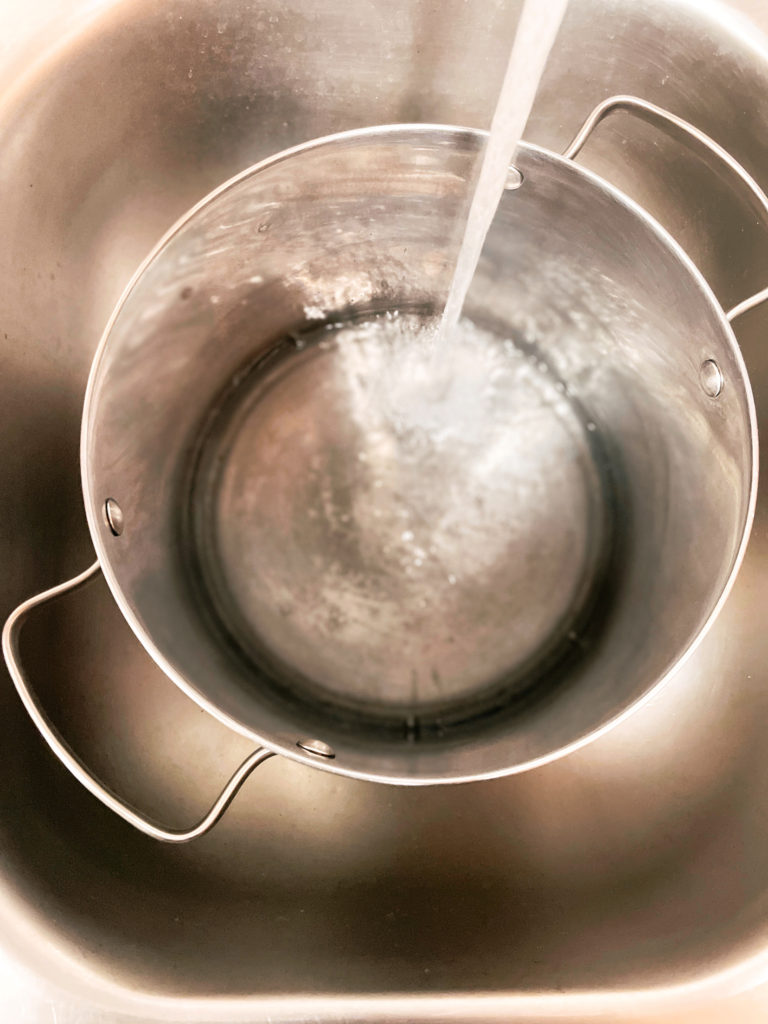
STEP 2: BRING WATER TO A BOIL
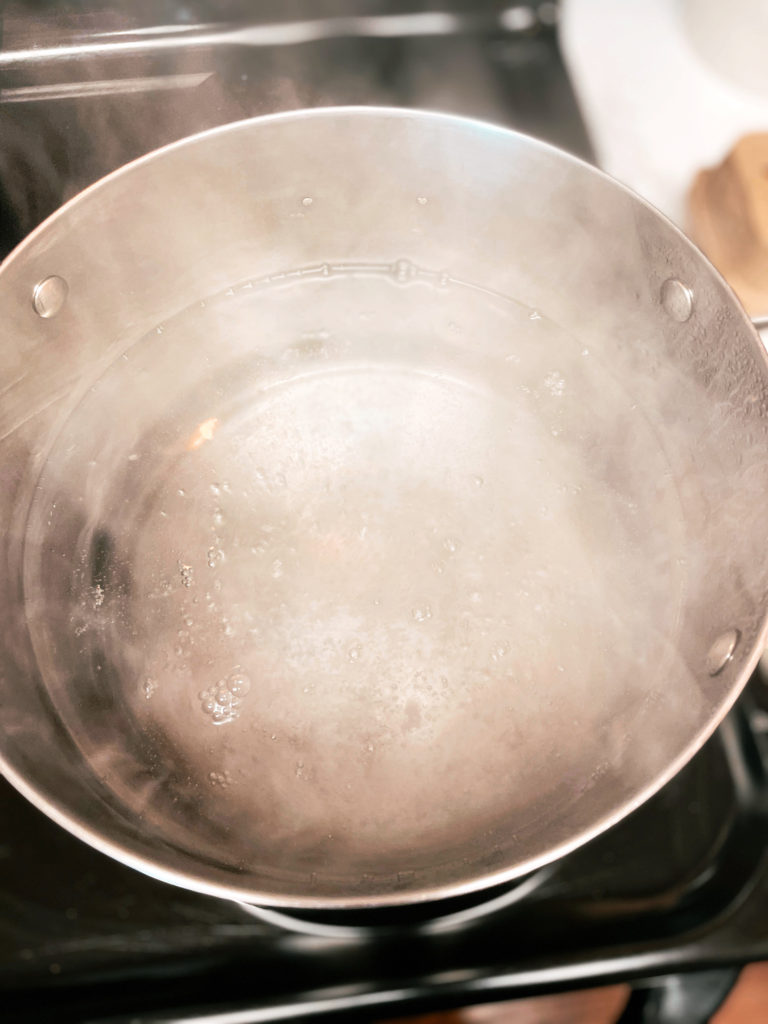
Depending on your stove, it will take about 10 minutes for the water to boil, especially in larger pots like the one pictured below.
During this time, I pull the eggs out of the fridge and set them aside.
STEP 3: ADD THE EGGS + COOK FOR 17 MINUTES
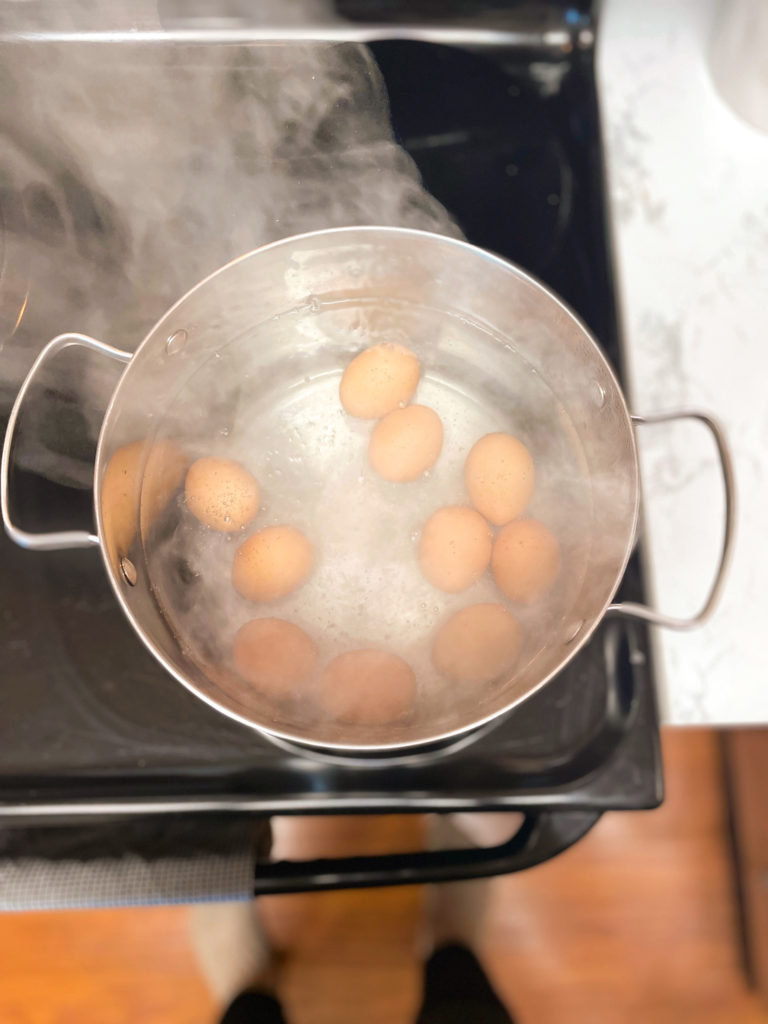
Okay I’ve seen several recipes calling for the eggs to boil anywhere from 9-20 minutes, but my sweet spot is at 17 minutes.
If you prefer your eggs to be less well-done, then you may want to do a few trial runs.
Also, I’m big on setting a timer because I multitask when cooking and use the smell of food as my gage to decide whether it’s done or not. Since eggs don’t have a smell, I have to rely on something else and my stove timer does the trick!
STEP 4: REMOVE EGGS AND PLACE IN COLD WATER BATH
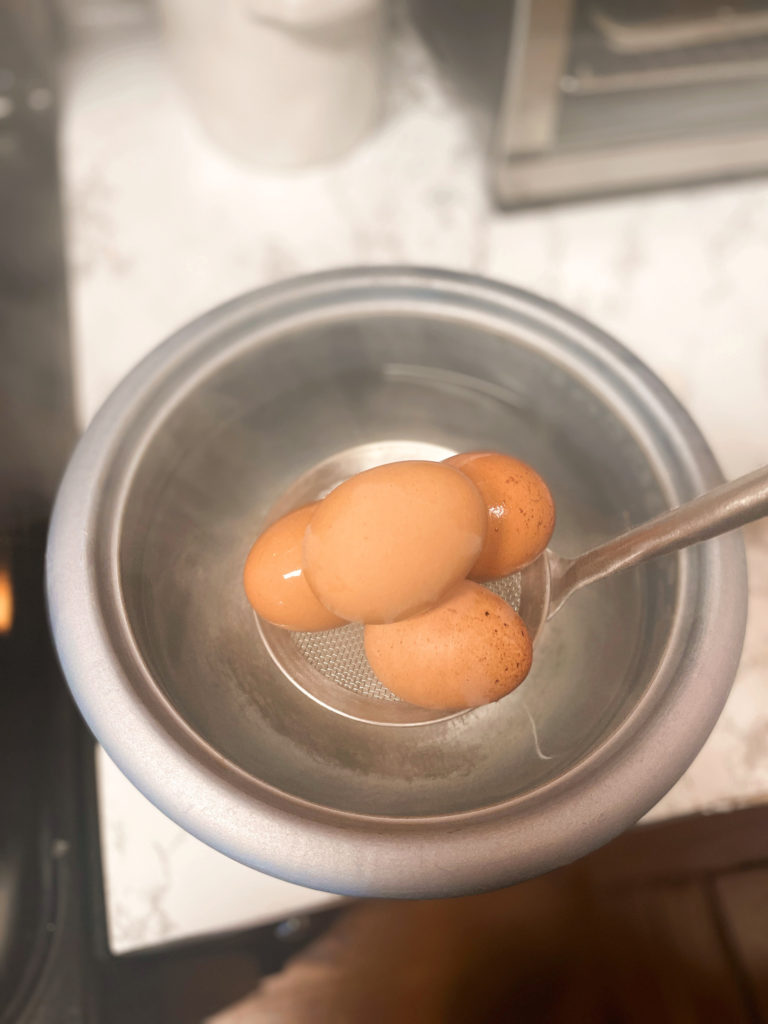
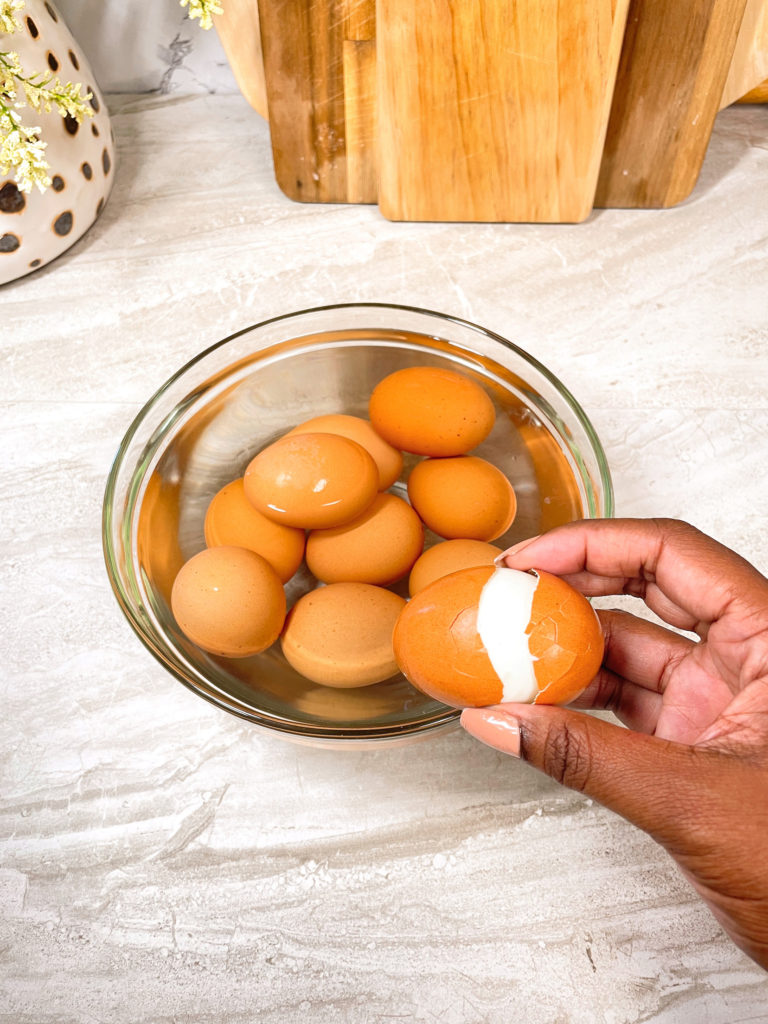
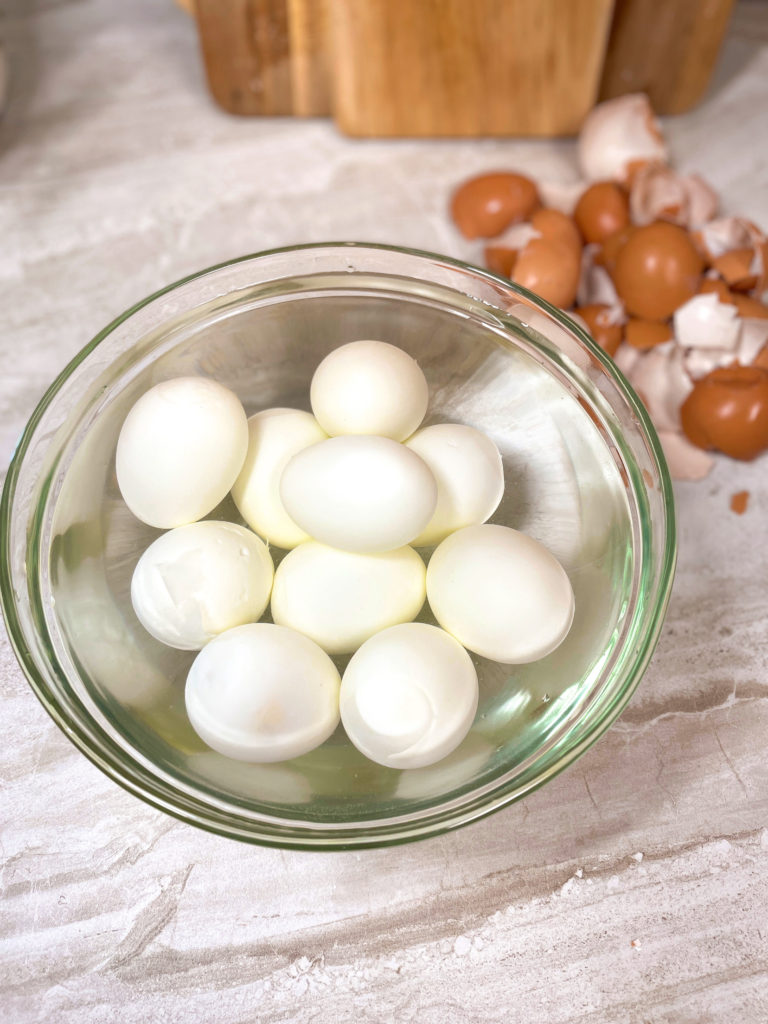
When the timer on my stove goes off, I immediately grab a large enough bowl and fill it with cold water from the faucet. Then, I use a large skimmer spoon to transfer the eggs from the pot to the cold bath.
I let the eggs sit in the water anywhere from 5-10 minutes before peeling.
STEP 5: PEEL & ENJOY!
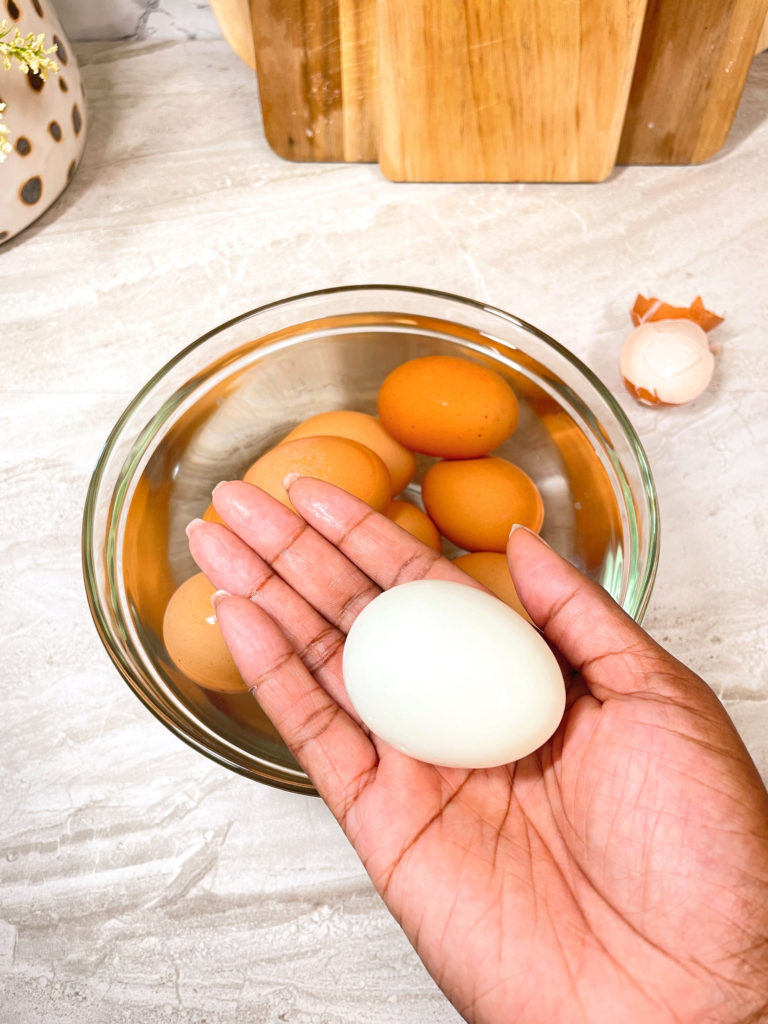
Now, all of the hard work has been done! If I’m using the eggs right away, I use a one-crack peel method where I drop the egg on a hard surface and squeeze the sides to get a clean break.
I’ve tried this with cold eggs from the fridge and this method does work but more care is required.
When the eggs are straight from the bath and cracked in this manner, the peel usually comes off in 1-2 pieces.
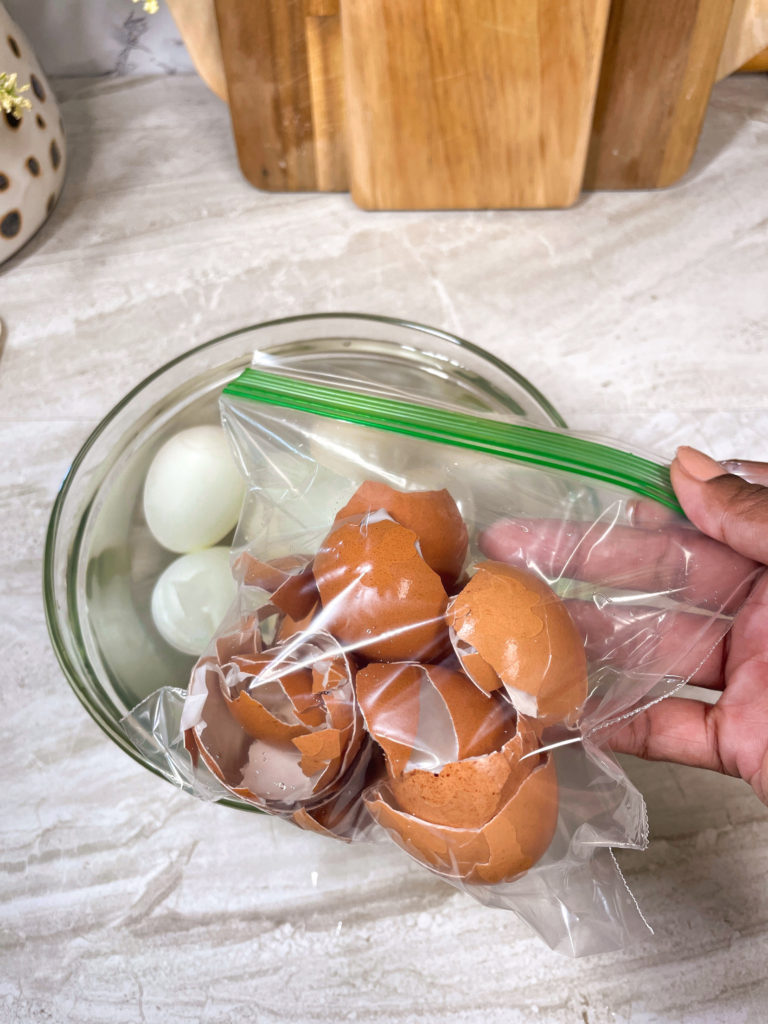
Also, I keep the peels, a few times a year, and grind them up as fertilizer for my plants. My grandmother puts them in the plants whole so you can do either way!
For refrigeration, the eggs are good for about a week. I typically store them in a zipper bag or stainless-steel bowl but you can keep them in the original carton to prevent fridge odors from seeping through.
CONCLUSION
Now you know how to make hard-boiled eggs. Use this super simple guide to make some on the fly or make a batch in advance to help with meals throughout the week.
Let me know if you’ve tried making them in the oven or if you have additional tips for peeling the shells off easily!
